Hello everyone. Today we would see again a simple yet effective photography subject.

Are you wondering what is that thing??? If you don't get it, no need to worry you are not the first :P whereas if you got it then well you are a good photographer than me (Time to move to a different blog entirely.. ;) ).
Now for those who didn't get it. It's nothing but a bottle and that too a plastic one. The whole point of writing these Photography Tips and Tricks series is to tell that you do not need great camera and great spot to take good photographs. So here I try to show that how most banal things can be shot in such a way that they look interesting.
Let me show you the setup.

There is nothing brilliant about the above photo, but if you get little closer you can get astonishing results like:

See the result is clear. Once I read somewhere, I guess in Scott Kelby's book, that take the photograph in a unusual angle to make the viewer think about the photo. Nice thing to apply.
The camera settings are simple. You can use any camera and natural light, for the white background I had used a A3 size white paper.
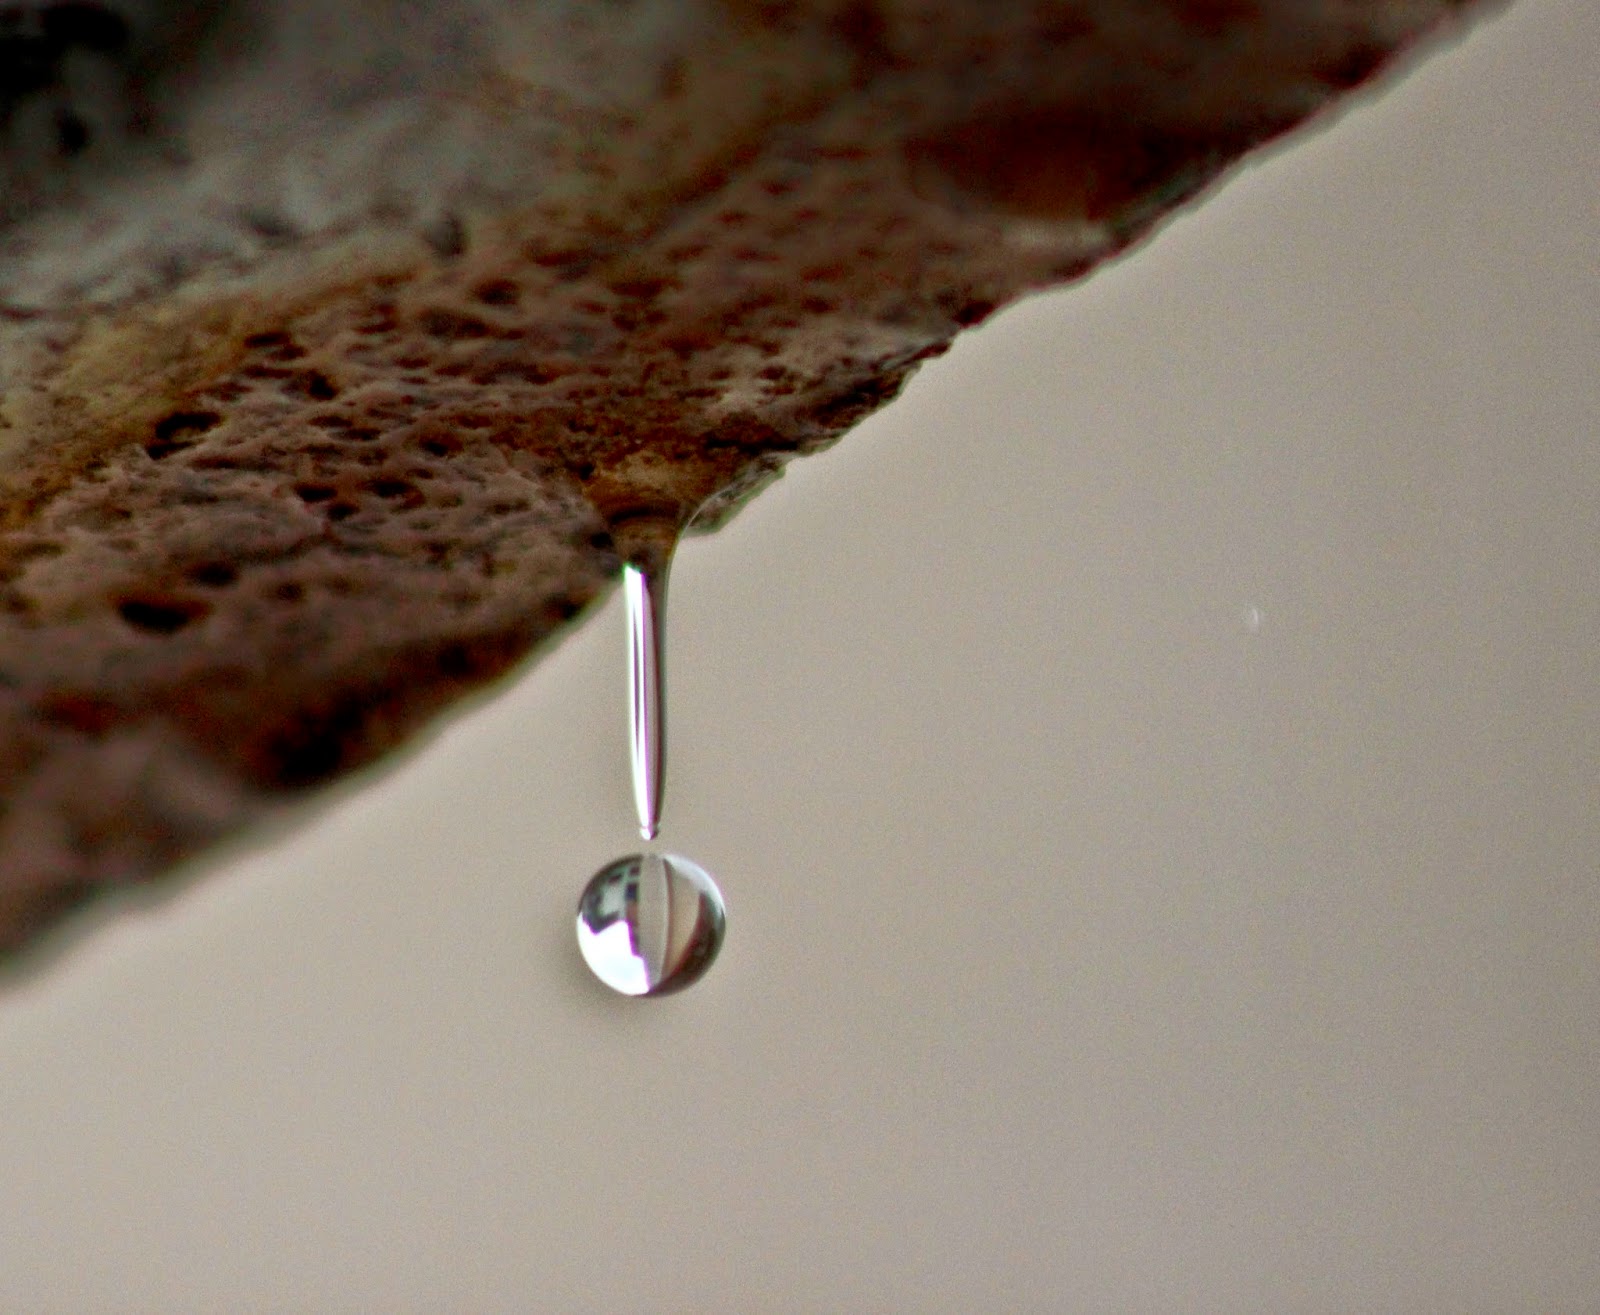
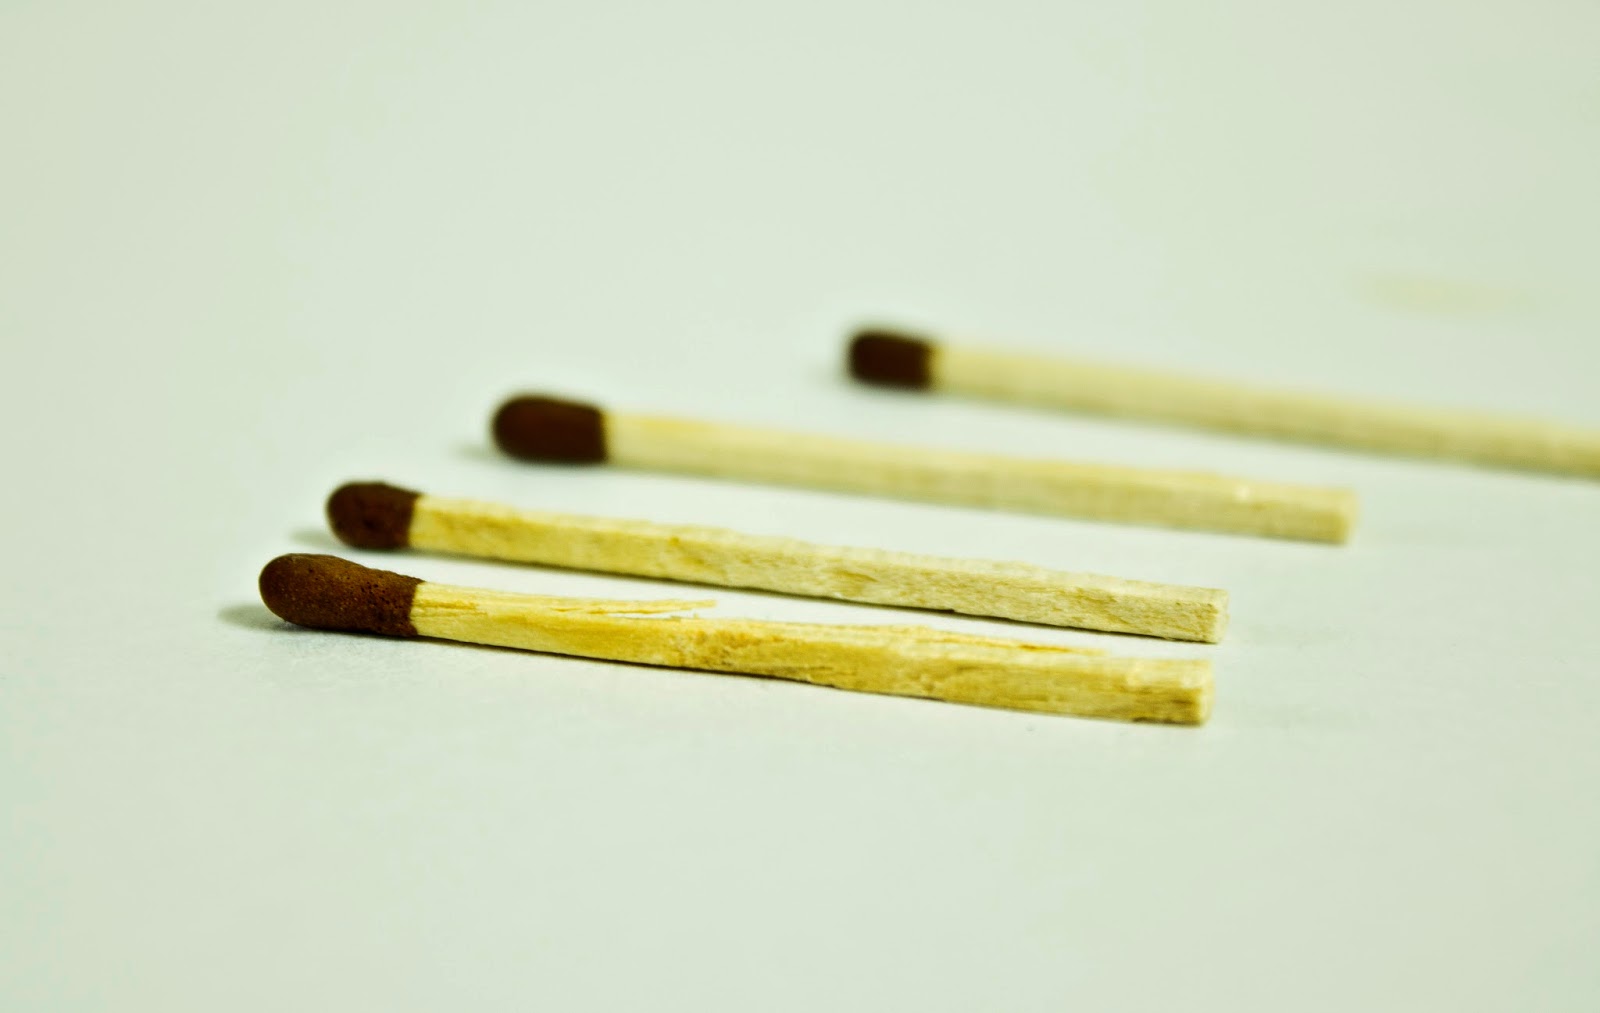
Some more photo of the same subject:


P.S: If you have any doubts do let me know in the comment section below.
A tip, To make the photo black and white, don't use the inbuilt black and white function of the photo editor, if you see the word "Saturation" somewhere just make it 0.
Are you wondering what is that thing??? If you don't get it, no need to worry you are not the first :P whereas if you got it then well you are a good photographer than me (Time to move to a different blog entirely.. ;) ).
Now for those who didn't get it. It's nothing but a bottle and that too a plastic one. The whole point of writing these Photography Tips and Tricks series is to tell that you do not need great camera and great spot to take good photographs. So here I try to show that how most banal things can be shot in such a way that they look interesting.
Let me show you the setup.
There is nothing brilliant about the above photo, but if you get little closer you can get astonishing results like:
See the result is clear. Once I read somewhere, I guess in Scott Kelby's book, that take the photograph in a unusual angle to make the viewer think about the photo. Nice thing to apply.
The camera settings are simple. You can use any camera and natural light, for the white background I had used a A3 size white paper.
Some more photo of the same subject:
P.S: If you have any doubts do let me know in the comment section below.
A tip, To make the photo black and white, don't use the inbuilt black and white function of the photo editor, if you see the word "Saturation" somewhere just make it 0.