Sky....!! A wonderful photographing subject if you observe
it closely. Unless we're specifically photographing a sunrise (or sunset), the
sky at twilight, or the moon and stars, most people tend to ignore the sky in
their photography. This is really a shame, since it's almost always visible in
outdoor shots. Paying attention to the sky as a photographic element can
elevate your photos from mere snapshots to real works of art.

Read on to discover some of our favorite techniques for working with the sky. You've to make sure it becomes an intentional artistic element of your photographs, not just a washed-out background.
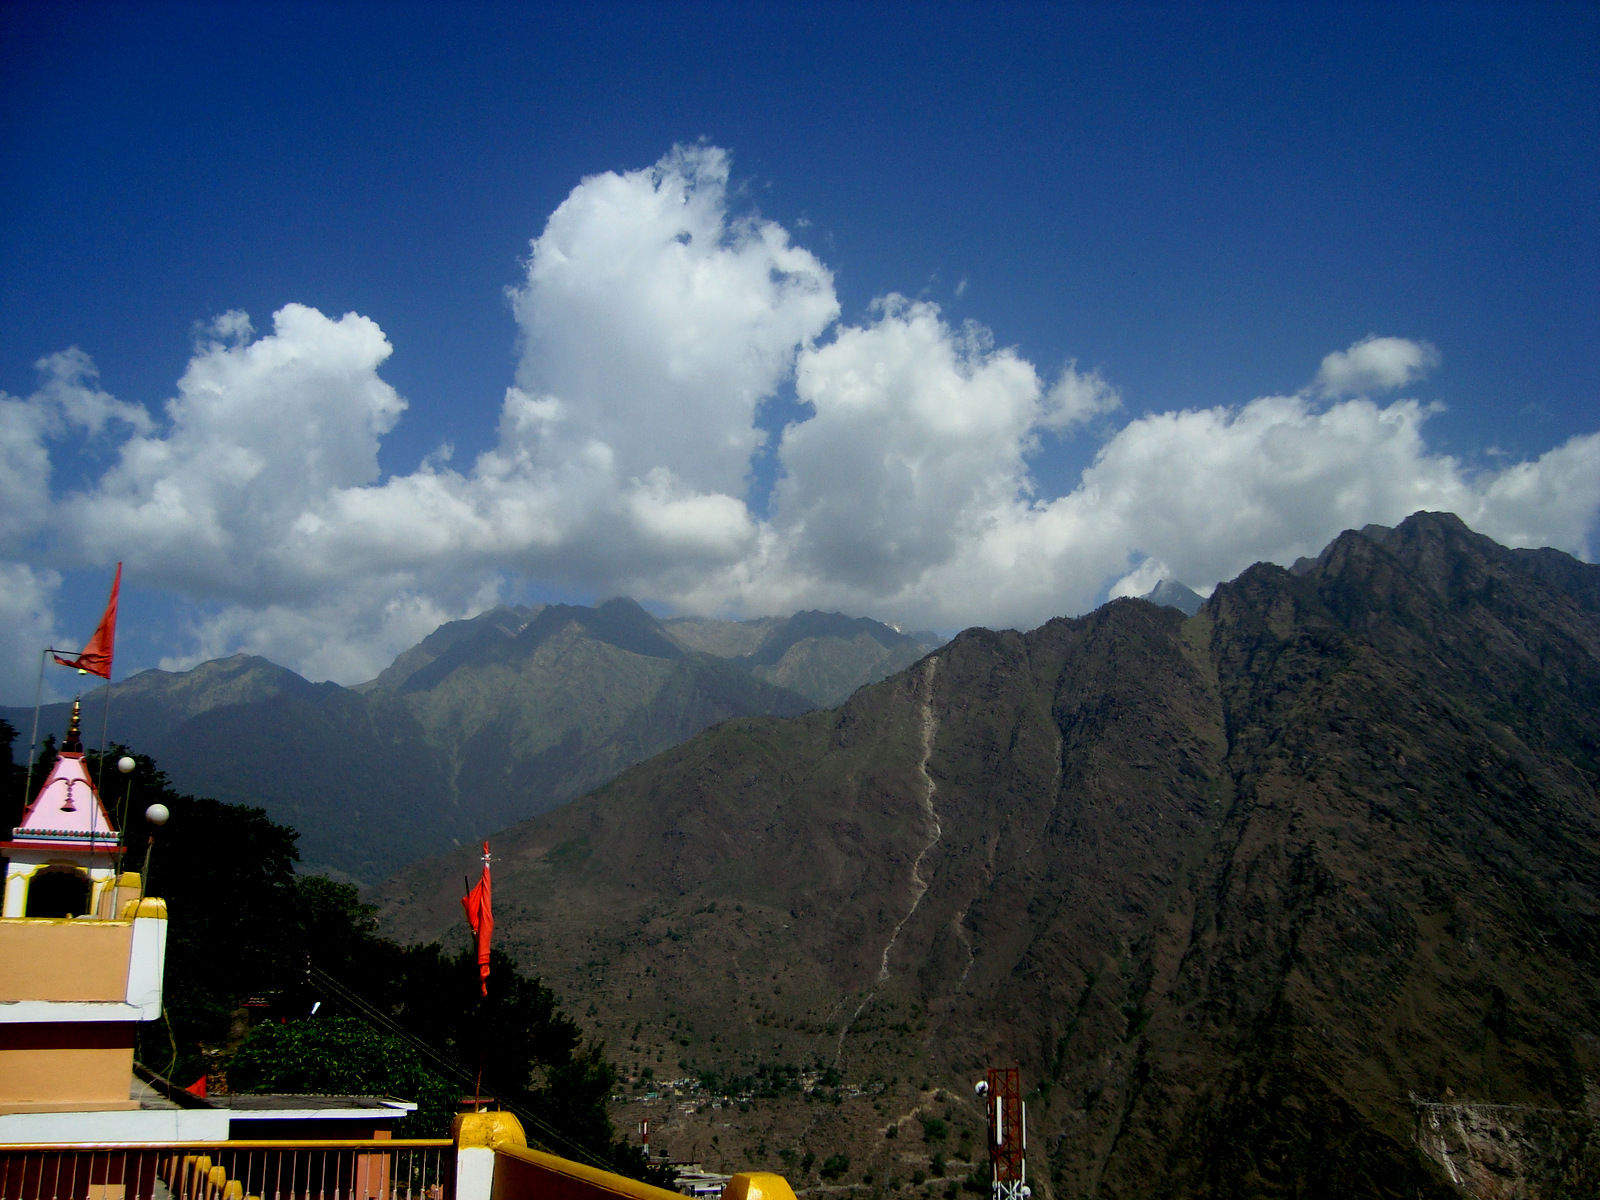
Time of the Day: It's very important to choose the time of the day correctly. As in the rule of thumb says that don't shoot at the noon, the golden hours are the best timings to shoot the sky. But this is not true always. Photography is a art and not a perfect science, so never make up your mind that do not shoot at noon. The above photo was taken at 12 noon. So see follow the rules, but never be afraid to break them. (of course rules of photography..;) ).
Turn away from the sun: Most of the time, you'll get the best
skies where the sun is not. Position yourself so that the sun is between
90 and 180 degrees from your view. You'll reduce glare and get deeper
blues behind the clouds, and the clouds themselves will be lit nicely.
Camera doesn't matter: I believe the gadget you carry around does not matter, you can produce quality photographs irrespective of the gadget. I have created a facebook page to support this if you have a minute check it out, here's the link https://www.facebook.com/proamateurs . The above landscape photograph was taken by a cheap point and shoot sony W110.
Don't be afraid to experiment: Try different settings of the camera. Shutter speed is the most awesome setting to play with, try long exposures to create trails of clouds.

The most dramatic sky will always be before dusk and dawn, the shades of yellow, purple, magenta. Try to get that in your composition.
One important tip, for skies, the white balance is the setting we tend to forget, so be sure you check it before you click. Wrong white balance may produce drastic results.
Use post processing techniques to get different combinations of colors.


Use the pop up flash to bring the foreground objects in light.


That's it, with these one last tip that "Sky is the Limit"...;)
Here are some photos that i took with canon powershot SX30IS:


P.S: Comments are welcomed
Keep Shooting..!!!